Owning a home is one thing. But getting your own built? That’s extra fulfilling. You can follow the home design that’s been in your head since you started working towards your dreams, and you get to watch everything get built from the ground up.
If you’re not well-versed when it comes to construction, you might have no idea how a residential property goes from an empty piece of land to a lot with a driveway, a yard, and a home. It can be mind-boggling to think about, but there really isn’t magic going on behind building a home.
To give you an idea of how everything happens, here’s a step-by-step guide you can rely on as you watch everything unfold after you buy that empty lot for sale:
- 1. Site and foundation preparation
- 2. Rough farming
- 3. Finishing plumbing and electrical systems
- 4. Insulation
- 5. Interior fixtures completion
- 6. Interior trim finishing and installation of walkways and driveways
- 7. Flooring, countertops, and exterior grading
- 8. Bathroom fixture installations
- 9. Installation of mirrors and shower doors
- 10. Site walkthrough
1. Site and foundation preparation
Before your chosen construction company puts its first shovel in your land, you must first apply for design approvals. Permits for zoning and grading—whose regulations vary depending on where you build your house. There are also permits required for the construction of septic tanks, electrical systems, plumbing, and the act of constructing the home itself.
After you’ve received approval and the proper permits, your construction crew can begin preparing the construction site and lay down the foundation work. But if your home design is based on wood, your house won’t need foundation work.
The work involved in preparation and foundation-building is clearing a lot of trees, debris, and rocks. If the lot has a septic system already built, your crew will also clean it. After that, they can begin leveling the site to accommodate your home and other areas.
If your planned design has a basement, extra work will be done to get the basement erected.
2. Rough farming
This part is composed of construction crews finishing the floor, wall, and roof systems whose foundations were built during the previous step. This part also accounts for the sheathing application and covering the walls with a protective wrap to prevent damage from liquids.
Plywood or oriented stand boards (OSBs) are also applied to walls, roofs, windows, and doors to keep them firm.

3. Finishing plumbing and electrical systems
In this part of the process, pipes and wires are installed. While the walls are open in the home’s interior, they are installed to hide the boards from the view of the people who will live inside the house. The water supply lines are also finalized in this step.
The duct system for the heating, ventilation, and air conditioning (HVAC) system your home will use is also installed along with the electrical lines required to power your HVAC units.
4. Insulation
In keeping a home comfortable, insulation materials are used. They keep the indoor climate consistent and prevent too much heat and cold, making a home more energy-efficient in the process.
Insulation materials have defined thermal performance based on what they’re made of. The most common ones are made of foam, cellulose, and fiberglass. You can coordinate with your architect to pick the best insulation type for your home’s needs.
5. Interior fixtures completion
Weeks after the walls are covered with protective material, they get the attention of your construction crew back during drywall installation, texturing, and application of paint. This is done to make the walls thicker and to hide the OSBs. The first layer of paint is also put in after taping the drywall.
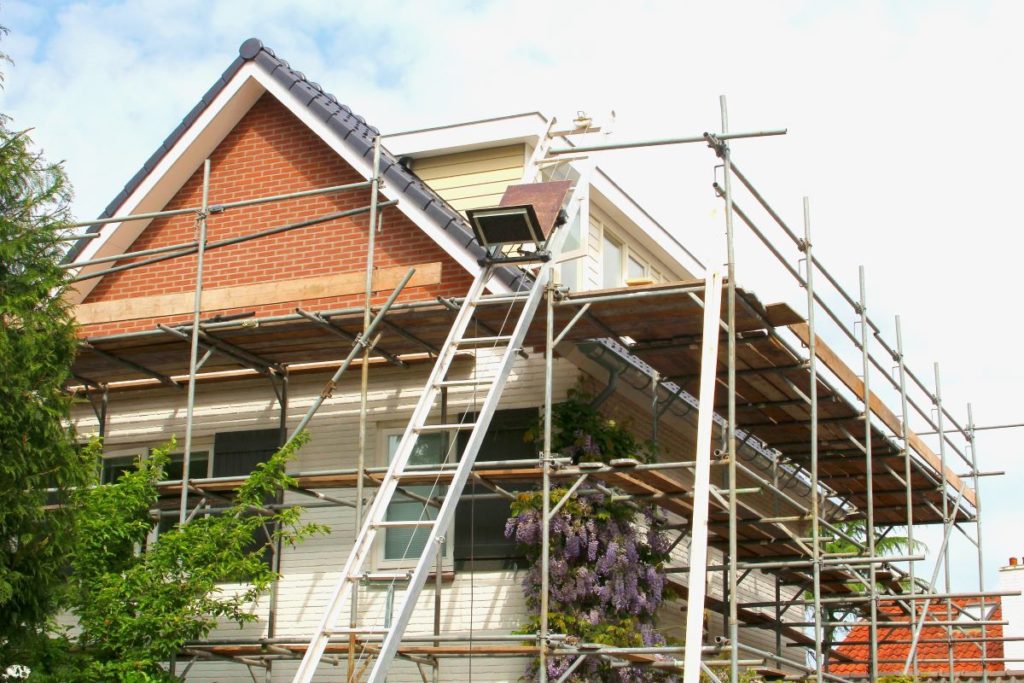
Outside, your crew starts to install exterior finishes such as bricks, stone, siding, and stucco to let them settle while they finish the interior fixtures.
6. Interior trim finishing and installation of walkways and driveways
After the first layer of paint dries off, your crew would apply the final coat of your wall’s paint. Along with this step, the windowsills, doors, baseboards, door frames, and stair balusters are installed.
In the exterior, your crew will begin building walkways and your driveway. While some builders prefer to pour the driveway after they’re sure they won’t need to use heavy equipment after, some prefer to pour the driveway as soon as they build the foundation so homeowners can visit the site and not be submerged in mud.
7. Flooring, countertops, and exterior grading
Hard surface flooring and countertops get installed after interior fixtures are built and finalized. This is because builders need to make sure they won’t be using tools that can damage the floor surface.
8. Bathroom fixture installations
Lighting, switches, and power outlets are installed after the planned interior fixtures are put in place. After, your electrician will complete the electrical panel that will power your home. Your HVAC system will also be installed, along with your bathroom sink, faucets, and toilet.
9. Installation of mirrors and shower doors
After the bathroom fixtures are settled, you’d see your mirrors installed along with your shower doors. This step also includes the finishing work of your flooring and your exterior’s landscaping.
10. Site walkthrough
After everything is done the first time, you’d be able to take a look into the house together with your construction crew, architect, and project engineers to check if there’s anything you’d like to have changed, something needs to be corrected, or something needs a little adjustment.
This is also your chance to comment on the things you didn’t like. Make sure to thoroughly inspect this time because it will be easier for your building crew to change things up before you move into your new home.